Build an AI Chatbot with OpenAI, LangChain, and Next.js
Step-by-step tutorial on building an interactive chatbot using OpenAI's GPT models, LangChain and Next.js

Introduction
AI-powered chatbots are transforming customer support, documentation, and personal productivity.
In this tutorial, we’ll explore how to build a chatbot using OpenAI and LangChain, and run it inside a Next.js application.
What you'll learn:
- Setting up a Next.js + Node.js project
- Connecting OpenAI API with LangChain
- Building a chatbot API route
- Creating a frontend chat UI
Prerequisites
Tech Stack
Step 1: Setup Next.js Project
- 1
Create a new Next.js app.
- 2
Install required dependencies.
- 3
Configure environment variables.
npx create-next-app@latest ai-chatbot
cd ai-chatbot
npm install langchain openai
⚠️ Don’t forget to create an .env.local file in the root of your project to store your OpenAI API key.
OPENAI_API_KEY=your_openai_api_key_hereStep 2: Create Chatbot API with LangChain
We’ll use LangChain’s ChatOpenAI wrapper to communicate with GPT.
import { NextResponse } from "next/server";
import { ChatOpenAI } from "@langchain/openai";


export async function POST(req) {
try {
const { messages } = await req.json();

if (!messages) {
  return NextResponse.json({ reply: "No messages provided." }, { status: 400 });
}

const chat = new ChatOpenAI({
  modelName: "gpt-5-nano-2025-08-07",
  openAIApiKey: process.env.OPENAI_API_KEY,
});

const response = await chat.invoke(messages);

return NextResponse.json({ reply: response.content });
} catch (err) {
console.error("Chat API error:", err);
return NextResponse.json({ error: "Server error" }, { status: 500 });
}
}
This API route accepts chat messages and responds with AI-generated replies.
Step 3: Frontend Chat UI Example
Implement the frontend UI in app/page.js or a separate component.
Here’s an example safe for MDX:
"use client";
import { useState, useEffect, useRef } from "react";

export default function ChatPage() {
const [messages, setMessages] = useState([]);
const [input, setInput] = useState("");
const [isLoading, setIsLoading] = useState(false);
const chatBoxRef = useRef(null);

const sendMessage = async () => {
  if (!input.trim() || isLoading) return;

  const userMsg = { role: "user", content: input };
  const newMessages = [...messages, userMsg];
  setMessages(newMessages);
  setInput("");
  setIsLoading(true);

  try {
    const res = await fetch("/api/chat", {
      method: "POST",
      headers: { "Content-Type": "application/json" },
      body: JSON.stringify({ messages: newMessages }),
    });

    if (!res.ok) {
        throw new Error(`API call failed with status: ${res.status}`);
    }

    const data = await res.json();
    setMessages((prev) => [
      ...prev,
      { role: "assistant", content: data.reply },
    ]);
  } catch (error) {
    console.error("Chat API Error:", error);
    setMessages((prev) => [
      ...prev,
      { role: "error", content: "Error: Could not connect to AI." },
    ]);
  } finally {
    setIsLoading(false);
  }
};

// Auto-scroll
useEffect(() => {
  if (chatBoxRef.current) {
    chatBoxRef.current.scrollTop = chatBoxRef.current.scrollHeight;
  }
}, [messages, isLoading]);

const handleKeyPress = (e) => {
  if (e.key === "Enter") sendMessage();
};

return (
  <div className="flex flex-col h-screen bg-gray-950 text-gray-100 antialiased">
    {/* Header */}
    <header className="w-full bg-gray-900 p-4 border-b border-gray-800 shadow-lg">
      <div className="max-w-2xl mx-auto text-center">
          <h1 className="text-2xl font-semibold text-cyan-400">
              AI Chatbot
          </h1>
      </div>
    </header>

    {/* Chat Area */}
    <main className="flex-1 overflow-hidden max-w-2xl mx-auto w-full p-4">
      <div
        ref={chatBoxRef}
        className="h-full overflow-y-auto flex flex-col space-y-4 pb-6"
      >
        {messages.length === 0 && !isLoading && (
          <div className="flex-1 flex items-center justify-center text-center">
              <p className="text-gray-400 text-sm">Your conversation history will appear here.</p>
          </div>
        )}

        {messages.map((m, i) => (
          <MessageBubble key={i} role={m.role} content={m.content} />
        ))}

        {isLoading && <TypingIndicator />}
      </div>
    </main>

    {/* Input Bar */}
    <footer className="bg-gray-900 p-4 border-t border-gray-800 shadow-[0_-5px_15px_rgba(0,0,0,0.5)]">
      <div className="flex gap-3 max-w-2xl mx-auto">
        <input
          className="flex-1 p-3 rounded-xl bg-gray-800 border border-gray-700 text-gray-100 placeholder-gray-400 focus:ring-2 focus:ring-cyan-500 focus:outline-none transition"
          value={input}
          onChange={(e) => setInput(e.target.value)}
          onKeyPress={handleKeyPress}
          placeholder={isLoading ? "AI is typing..." : "Type a message..."}
          disabled={isLoading}
          autoFocus
        />
        <button
          onClick={sendMessage}
          disabled={!input.trim() || isLoading}
          className={`px-6 py-3 rounded-xl font-medium shadow-lg transition duration-200 ease-in-out ${
            !input.trim() || isLoading
              ? "bg-gray-700 text-gray-500 cursor-not-allowed opacity-70"
              : "bg-cyan-600 hover:bg-cyan-500 text-white transform hover:scale-[1.02] active:scale-[0.98]"
          }`}
        >
          {isLoading ? "..." : "Send"}
        </button>
      </div>
    </footer>
  </div>
);
}

// --- Chat Bubbles ---
const MessageBubble = ({ role, content }) => {
const isUser = role === "user";
const isError = role === "error";

let bubbleClasses = "";
let alignment = isUser ? "self-end" : "self-start";

if (isUser) {
    bubbleClasses = "bg-cyan-700 text-white rounded-br-md shadow-lg shadow-cyan-900/40";
} else if (isError) {
    bubbleClasses = "bg-red-900 text-red-200 border border-red-700 shadow-lg shadow-red-950/50";
} else {
    bubbleClasses = "bg-gray-800 text-gray-100 rounded-tl-md border border-gray-700 shadow-lg shadow-gray-900/50";
}

return (
  <div className={`flex ${alignment} max-w-xs md:max-w-md lg:max-w-lg`}>
      <div
          className={`p-3 rounded-2xl whitespace-pre-wrap ${bubbleClasses} text-sm`}
      >
          {!isUser && (
              <strong className={`font-semibold capitalize block mb-1 text-xs ${isError ? 'text-red-300' : 'text-cyan-400'}`}>
                  {role}:
              </strong>
          )}
          {content}
      </div>
  </div>
);
};

const TypingIndicator = () => (
<div className="flex self-start max-w-xs md:max-w-md lg:max-w-lg">
  <div className="bg-gray-800 px-4 py-3 rounded-2xl rounded-tl-md border border-gray-700 shadow-lg shadow-gray-900/50">
    <div className="flex space-x-1.5 items-center">
      <span className="w-2 h-2 bg-cyan-400 rounded-full animate-bounce-dot" style={{ animationDelay: '0s' }}></span>
      <span className="w-2 h-2 bg-cyan-400 rounded-full animate-bounce-dot" style={{ animationDelay: '0.15s' }}></span>
      <span className="w-2 h-2 bg-cyan-400 rounded-full animate-bounce-dot" style={{ animationDelay: '0.3s' }}></span>
    </div>
  </div>

  <style jsx global>{`
    @keyframes bounce-dot {
      0%, 80%, 100% {
        transform: scale(0);
      }
      40% {
        transform: scale(1);
      }
    }
    .animate-bounce-dot {
      animation: bounce-dot 1.4s infinite ease-in-out both;
    }
  `}</style>
</div>
);
Step 4: Test the Chatbot
Start the development server:
npm run devOpen http://localhost:3000 to see your chatbot in action. The port could be different depending on availability. (Check your terminal output for the correct URL.)
Ensure your .env.local file is configured and the server has restarted after adding your API key.
Demo Preview
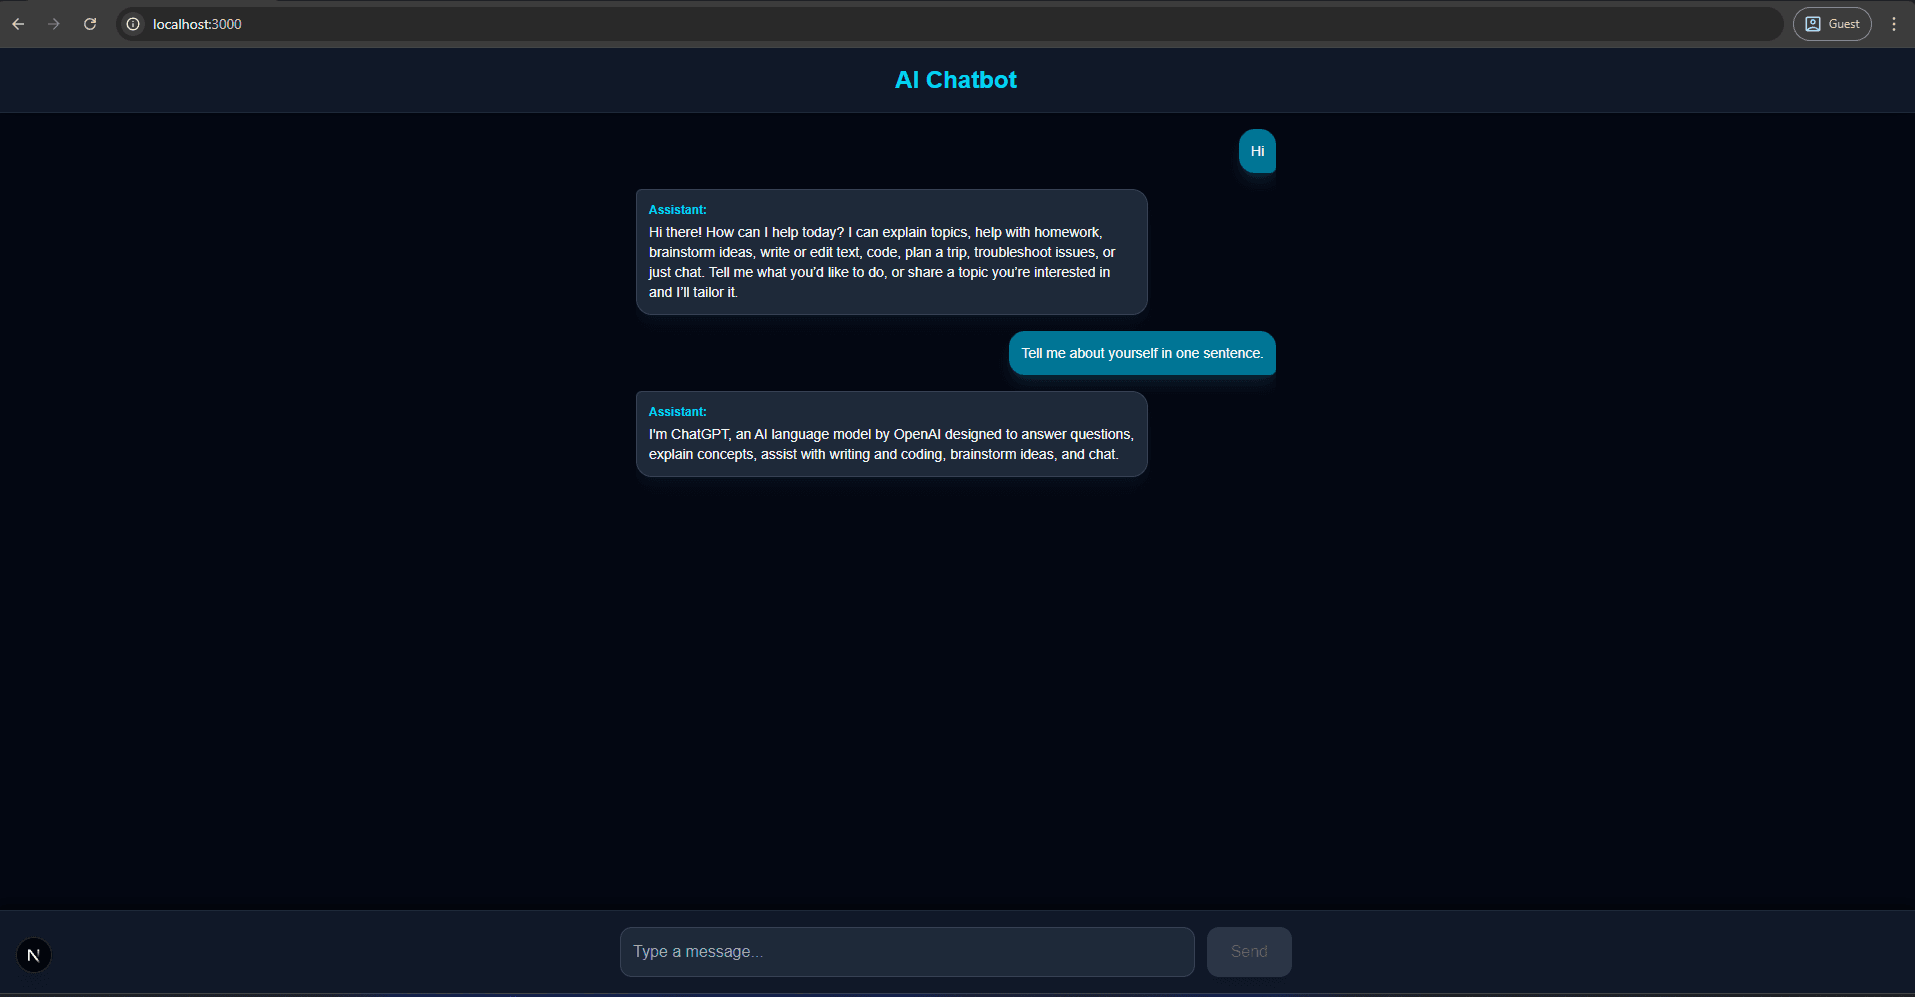
Frontend chat interface with AI responses
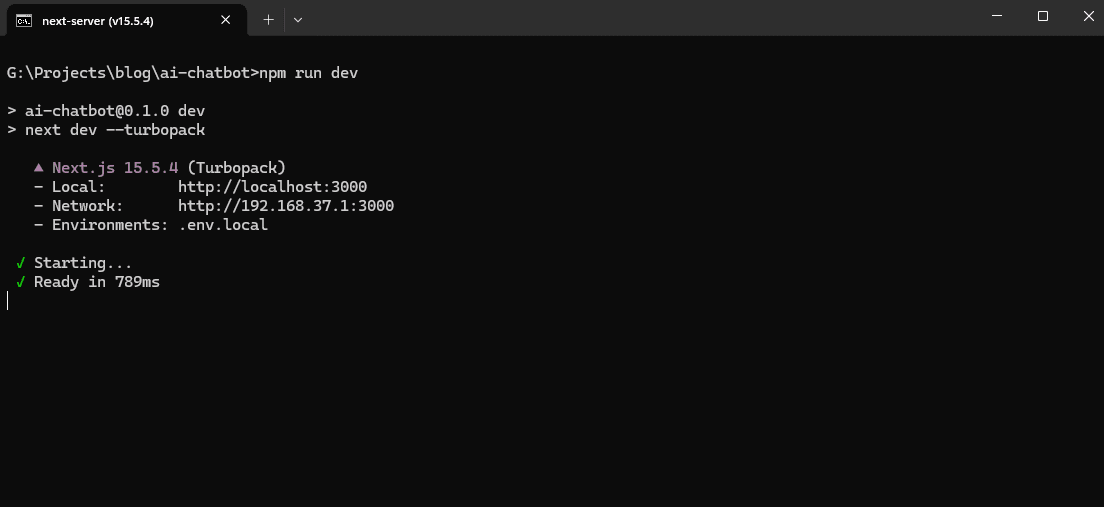
Terminal Output
Bonus Tips
Additional Resources
Project Links
You have successfully set up a Next.js chatbot using OpenAI and LangChain.


